

Dining Table Slide Installation
Installing a dining table slide is a straightforward yet meticulous process that enhances the functionality and convenience of your dining area. A dining table slide, often referred to as a table extension mechanism, allows you to expand the table surface to accommodate more guests or create additional space for serving dishes. Proper installation ensures smooth operation and longevity of the mechanism. Here’s a detailed guide to help you through the process. Tools and Materials NeededBefore starting, gather the necessary tools and materials: a measuring tape, screwdriver, drill, screws, pencil, level, and the table slide mechanism kit. Ensure the kit includes all components, such as the sliding rails, brackets, and screws. Step 1: PreparationBegin by clearing the dining table and workspace. Remove any table leaves or extensions if they are already attached. Place the table upside down on a soft, flat surface to prevent scratches or damage. This will give you easy access to the underside of the table where the slide will be installed. Step 2: Measure and MarkUsing a measuring tape, determine the centerline of the table’s underside. This is crucial for ensuring the slide mechanism is aligned correctly. Mark the centerline lightly with a pencil. Next, measure the length of the slide mechanism and mark its position along the centerline. Use a level to ensure the markings are straight and even. Step 3: Attach the Slide MechanismPosition the slide mechanism along the marked centerline. Align it carefully to ensure it is centered and level. Use a pencil to mark the screw holes on the table. Pre-drill these holes to prevent the wood from splitting. Secure the slide mechanism to the table using the provided screws and a screwdriver or drill. Tighten the screws firmly but avoid over-tightening, which could damage the mechanism. Step 4: Install the BracketsAttach the brackets to the slide mechanism according to the manufacturer’s instructions. These brackets will hold the table extensions in place. Ensure the brackets are securely fastened and aligned with the slide mechanism. Double-check that the brackets move smoothly along the slide rails. Step 5: Attach the Table ExtensionsPlace the table extensions onto the brackets. Ensure they fit snugly and align with the main table surface. Secure the extensions to the brackets using the provided screws. Test the sliding mechanism by gently pulling and pushing the extensions to ensure they move smoothly without obstruction. Step 6: Final AdjustmentsOnce everything is installed, flip the table back to its upright position. Test the slide mechanism again to ensure it operates seamlessly. Make any necessary adjustments to the screws or alignment if needed. Clean the table surface and slide mechanism to remove any dust or debris from the installation process. ConclusionInstalling a dining table slide is a practical upgrade that adds versatility to your dining space. By following these steps carefully, you can ensure a smooth and secure installation. Properly installed, the slide mechanism will provide years of reliable service, making your dining table more functional and adaptable to various needs.
Products
Category:
-
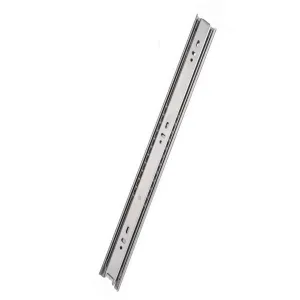
Ball Bearing Slide BS4501
Category: BALL BEARING SLIDEBrowse number: 175Number:Release time: 2025-06-13 15:26:40 -
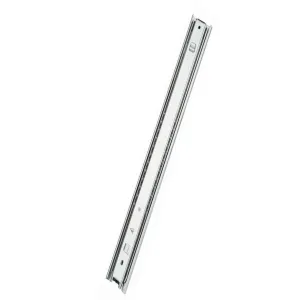
Ball Bearing Slide BS4509
Category: BALL BEARING SLIDEBrowse number: 123Number:Release time: 2025-06-13 15:43:22 -
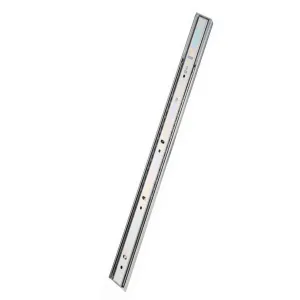
Ball Bearing Slide BS4520C
Category: BALL BEARING SLIDEBrowse number: 128Number:Release time: 2025-06-13 15:44:53 -
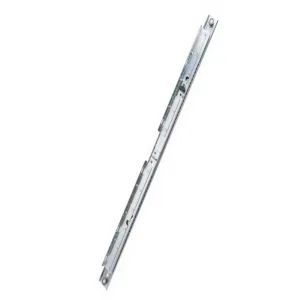
Ball Bearing Slide Z4802
Category: BALL BEARING SLIDEBrowse number: 162Number:Release time: 2025-06-13 16:14:55 -
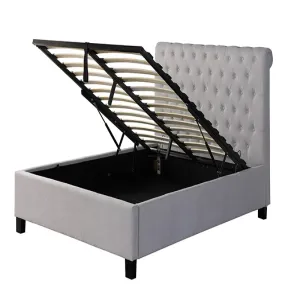
Upholstery Beds
Category: UPHOLSTERY BEDSBrowse number: 189Number:Release time: 2025-07-21 16:44:46
News
Category:
No search results found!
Case
Category:
No search results found!
Video
Category:
No search results found!
Download
Category:
No search results found!
Job
Category:
No search results found!
Featured Products
No search results found!


 WhatsApp
 Phone
Phone